Rich Text Notes Editor
TextEditor finally edits styled text. Bind it to an AttributedString, track the selection, and build your own bold, italic and text-size controls in a floating glass bar.
- Serves
- iOS 26+ · iPhone and iPad
- Prep time
- 35 minutes
- Kitchen-tested
- Compiled with Xcode 26.6 · iOS 26.5 simulator · Oct 26, 2026
- Difficulty
- ★★☆
TextEditor(text:selection:)with anAttributedStringAttributedTextSelectionAttributedString.transformAttributes(in:body:)Font.resolve(in:)and@Environment(\.fontResolutionContext)Font.bold(_:),.italic(_:),.scaled(by:)- An
AttributedTextFormattingDefinition
Until iOS 26, a SwiftUI TextEditor could only hold a plain String. If your notes app needed a bold word, you wrapped UITextView and spent an afternoon on coordinators and attribute dictionaries. Now TextEditor takes an AttributedString directly, keeps the formatting as the person types, and hands you the selection so your own buttons can change it.
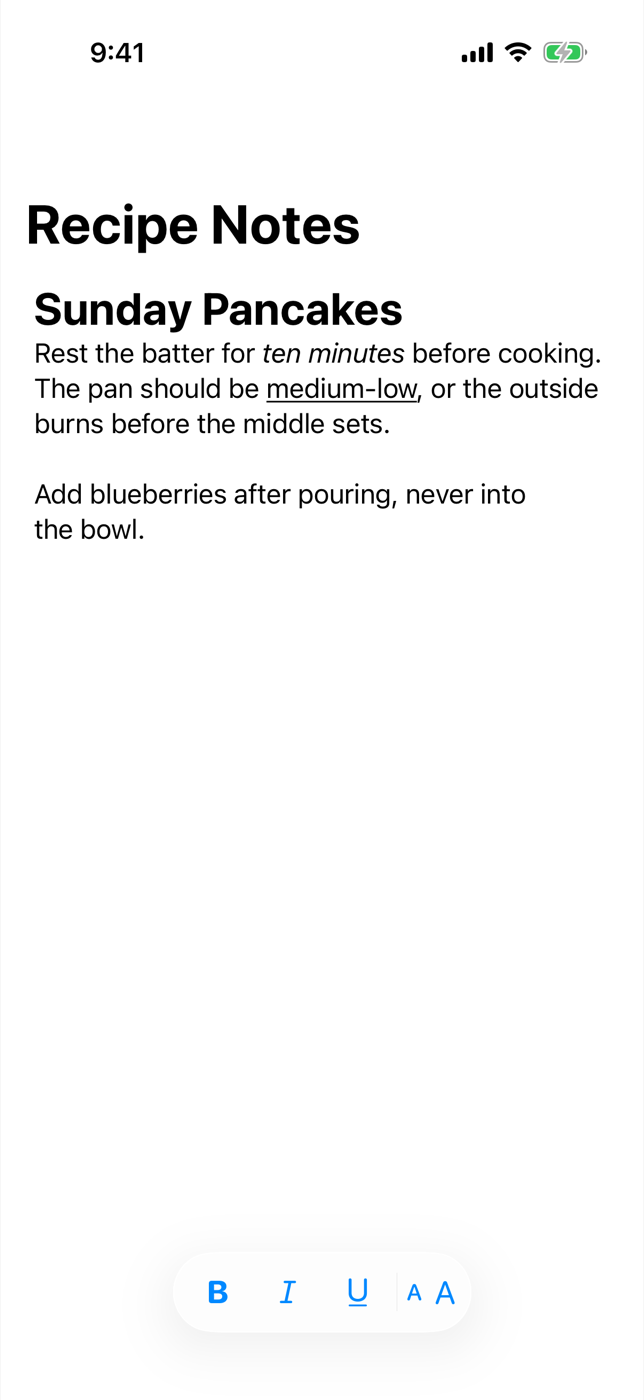
This recipe builds a recipe-notes screen: an editor that starts with a formatted note, plus a floating glass bar with bold, italic, underline and text-size controls that always reflect the text under the cursor.
Method
1. Start with some formatted text
An AttributedString carries SwiftUI attributes such as font and underlineStyle per run of characters. Build the starting note from a few runs so there’s something to edit:
1
2
3
4
5
6
7
8
9
10
11
12
13
14
15
16
17
18
19
extension AttributedString {
    static var sampleNote: AttributedString {
        var title = AttributedString("Sunday Pancakes\n")
        title.font = .title.bold()

        var intro = AttributedString("Rest the batter for ")
        var rest = AttributedString("ten minutes")
        rest.font = .body.italic()
        var tip = AttributedString(" before cooking. The pan should be ")
        var heat = AttributedString("medium-low")
        heat.underlineStyle = .single
        var end = AttributedString(", or the outside burns before the middle sets.\n\nAdd blueberries after pouring, never into the bowl.")

        intro.font = .body
        tip.font = .body
        end.font = .body
        return title + intro + rest + tip + heat + end
    }
}
2. Bind the editor to text and selection
TextEditor(text:selection:) takes two bindings. The text is the document; the AttributedTextSelection is where the cursor or highlighted range is. You need the selection for any control that formats “the current text”, so keep both in state:
1
2
3
4
5
6
7
8
9
10
11
12
13
14
15
16
17
18
struct NotesEditor: View {
    @State private var text = AttributedString.sampleNote
    @State private var selection = AttributedTextSelection()

    var body: some View {
        NavigationStack {
            TextEditor(text: $text, selection: $selection)
                .contentMargins(.horizontal, 16, for: .scrollContent)
                .attributedTextFormattingDefinition(NotesFormatting())
                .safeAreaInset(edge: .bottom) {
                    FormattingBar(text: $text, selection: $selection)
                        .padding(.horizontal)
                        .padding(.bottom, 8)
                }
                .navigationTitle("Recipe Notes")
        }
    }
}
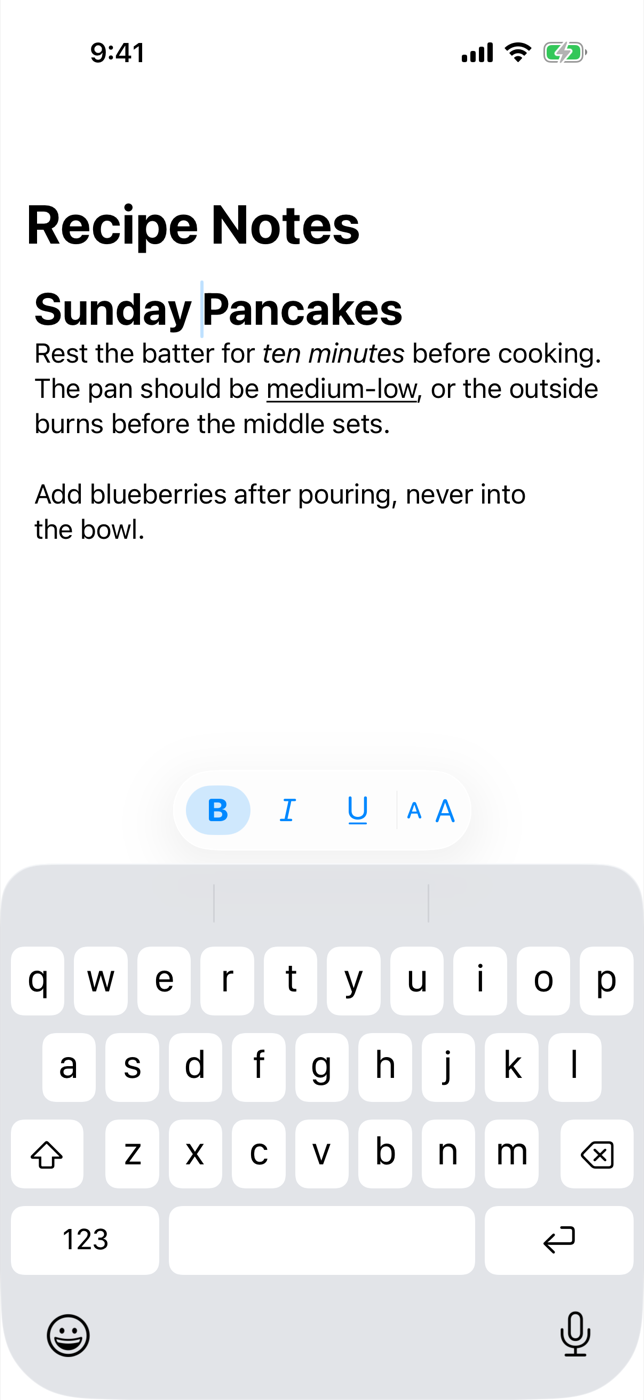
The bar sits in a bottom safe-area inset, so it floats over the end of the text and moves up with the keyboard when editing starts.
3. Read the formatting under the cursor
A bold toggle needs to show whether the current text is bold. Two calls get you there. selection.typingAttributes(in: text) returns the attributes that new typing would get at the selection. Its font is often a semantic font like .body, which can’t tell you whether it’s bold until it’s resolved for the current environment, so resolve it with the fontResolutionContext from the environment.
Writing goes through transformAttributes(in:). It runs your closure on every run inside the selection, or on the typing attributes when the selection is just a cursor. The selection is passed inout, so the editor’s selection stays in step with the edited text.
1
2
3
4
5
6
7
8
9
10
11
12
13
14
15
16
17
18
19
20
21
22
23
24
25
26
27
28
29
30
31
32
33
34
35
36
37
38
39
40
41
42
43
44
45
46
47
48
49
50
51
52
53
54
55
struct FormattingBar: View {
    @Binding var text: AttributedString
    @Binding var selection: AttributedTextSelection
    @Environment(\.fontResolutionContext) private var fontResolutionContext

    private var currentFont: Font.Resolved {
        let font = selection.typingAttributes(in: text).font ?? .default
        return font.resolve(in: fontResolutionContext)
    }

    var body: some View {
        HStack(spacing: 4) {
            Toggle("Bold", systemImage: "bold", isOn: Binding(
                get: { currentFont.isBold },
                set: { isOn in
                    text.transformAttributes(in: &selection) {
                        $0.font = ($0.font ?? .default).bold(isOn)
                    }
                }
            ))
            Toggle("Italic", systemImage: "italic", isOn: Binding(
                get: { currentFont.isItalic },
                set: { isOn in
                    text.transformAttributes(in: &selection) {
                        $0.font = ($0.font ?? .default).italic(isOn)
                    }
                }
            ))
            Toggle("Underline", systemImage: "underline", isOn: Binding(
                get: { selection.typingAttributes(in: text).underlineStyle != nil },
                set: { isOn in
                    text.transformAttributes(in: &selection) {
                        $0.underlineStyle = isOn ? .single : nil
                    }
                }
            ))

            Divider().frame(height: 24)

            Button("Smaller", systemImage: "textformat.size.smaller") { scale(by: 1 / 1.2) }
            Button("Larger", systemImage: "textformat.size.larger") { scale(by: 1.2) }
        }
        .toggleStyle(.button)
        .labelStyle(.iconOnly)
        .font(.title3)
        .padding(8)
        .glassEffect()
    }

    private func scale(by factor: CGFloat) {
        text.transformAttributes(in: &selection) {
            $0.font = ($0.font ?? .default).scaled(by: factor)
        }
    }
}
Font.bold(_:), italic(_:) and scaled(by:) are new in iOS 26. They take a flag or a factor, which suits toggles better than the older bold() that could only add weight.
4. Decide which formatting is allowed
People can also format text with the system controls in the edit menu, so your rules need to hold no matter where the formatting comes from. An AttributedTextFormattingDefinition lists constraints on attribute values, and SwiftUI applies them to text in the editor. This one allows no underline or a single solid one. A double or dashed underline, pasted in from elsewhere, is corrected to .single:
1
2
3
4
5
6
7
8
9
struct NotesFormatting: AttributedTextFormattingDefinition {
    var body: some AttributedTextFormattingDefinition<AttributeScopes.SwiftUIAttributes> {
        ValueConstraint(
            for: \.underlineStyle,
            values: [nil, .single],
            default: .single
        )
    }
}
SwiftUI also uses the definition to adjust its own formatting UI, so the system controls only offer options that fit your rules.
Plating
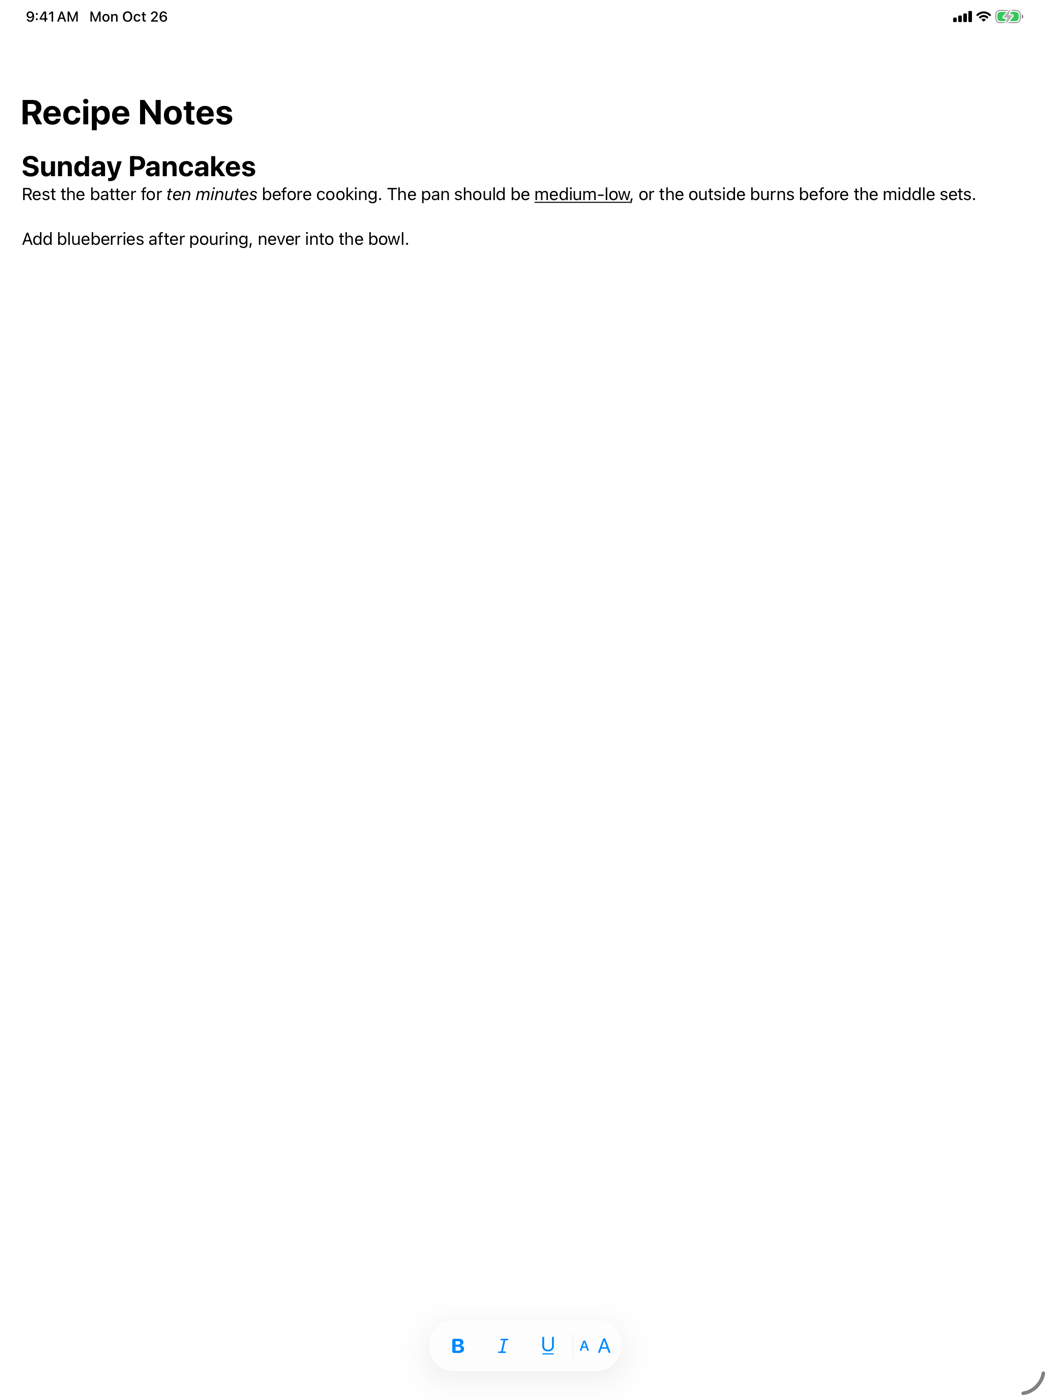
The note opens with a large bold title and the body underneath it, with “ten minutes” in italics and “medium-low” underlined. The formatting bar floats at the bottom in a glass capsule. Put the cursor in the title and the bold toggle lights up; move it into “ten minutes” and italic lights up instead. Select a phrase and tap Larger a few times, and it grows in steps of 20 percent while the rest of the paragraph stays put.
Kitchen notes
- Fonts in the attributed string override the environment. Runs with no
fontattribute use whatever.font()the editor inherits, so you can set the base style for unformatted text with an ordinary.font()modifier. - The editor doesn’t convert UIKit or AppKit attributes. Text pasted or loaded with
NSAttributedStringkeys (an RTF file, say) won’t show its formatting until you convert it into SwiftUI attributes. Apple’s documentation points toTransferablefor importing RTF. - If your own bar is the only formatting UI you want, hide the system controls with
.textInputFormattingControlVisibility(_:for:). - The toggle labels stay in place for VoiceOver even though only the icons show, and
.toggleStyle(.button)reports each one’s on or off state.
— 30 —
Custom Animated Shapes with @Animatable
Build an animated batter gauge with a custom wave Shape, using the @Animatable macro, @AnimatableIgnored and PhaseAnimator.
Morphing Glass Buttons
Build a floating glass action button that morphs into a cluster, fuse controls with glass unions, and use the .glass button styles....